
Note
The Options tool is now located in Tools > Options.
Overview
A professional proposal goes a long way when it comes to winning bids. Clear Estimates creates a personalized, professional proposal automatically - which you can share with your clients in just a few clicks!
In order to fully personalize your documents, its important to include your company name and contact information.
Clear Estimates makes it easy to add in your information and personalize your documents. Lets get started!
Company Contact Info
To add in your company info, click Tools > Options:

This will take you straight to your Company Data page, where you'll add in your info.
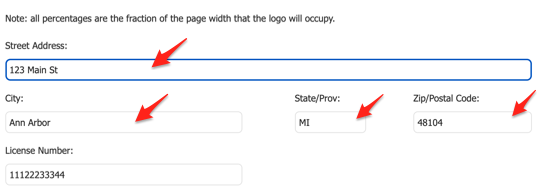
Fill in information like your company name, street address, city, state and zip code. You can also add in a license number below:
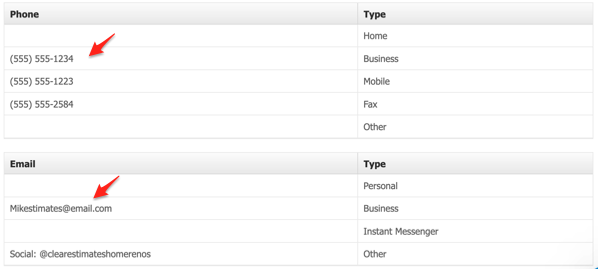
Next, fill in the contact info you want to show - phone, email, mobile, fax etc.
The “other” field can also be used for things like social media handles, or any other info you want to include:
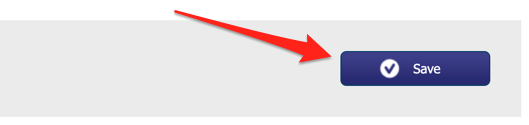
Now, just click the blue Save button at the bottom:
Adding a Logo
You can set yourself apart by including your own unique branding. This is easy to do by adding a custom logo that can appear at the top of your documents.
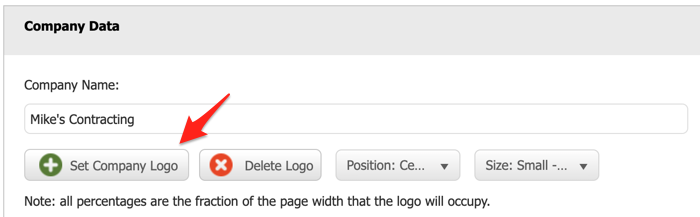
To set up a logo, find the Set Company Logo option at the top of the Company Data page:
This will pull up your file browser, so you can select your logo file from your drive. Find the logo file you want to use and click “open”.
Once you click “open”, you'll see Clear Estimates attach your logo file. It will look like this:
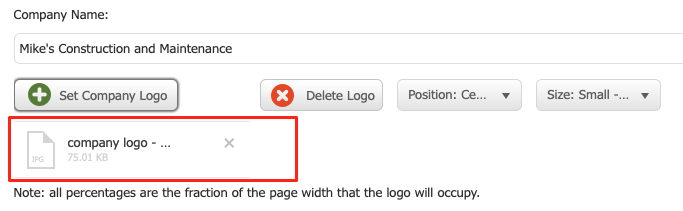
The final step is to click the blue Save button at the bottom:
Clicking "Save" will complete the logo import, and you'll see the logo at the top of your page: 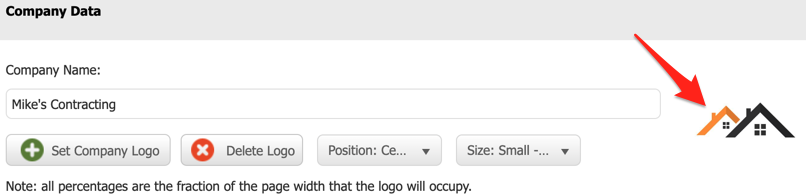
Best Practices for Logos
Clear Estimates supports most standard image types. Most common are .jpg and .png files.
For best results, your logo file should be roughly the size you'd like to see it on your proposals at the time of uploading. We recommend a maximum of 500 x 500 pixels.
Be sure your logo does not include a lot of white space around the logo in the image file.
While we have recommended specs for logos, keep in mind you have some size / position adjustment options.
Adjusting your Logo Size and Position:
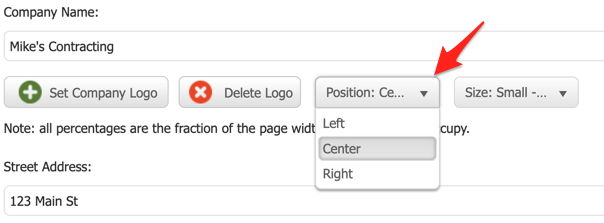
You can customize how your logo appears on the document. You can justify your logo left, right or center using the Position dropdown:
While we recommend checking the logo size prior to uploading, you do have some sizing options in the software. You can adjust your logo size using the size dropdown:

After any adjustments you make, just be sure to click Save at the bottom!
It's that simple! Now you'll be ready to send a professional, personalized proposal to your client.