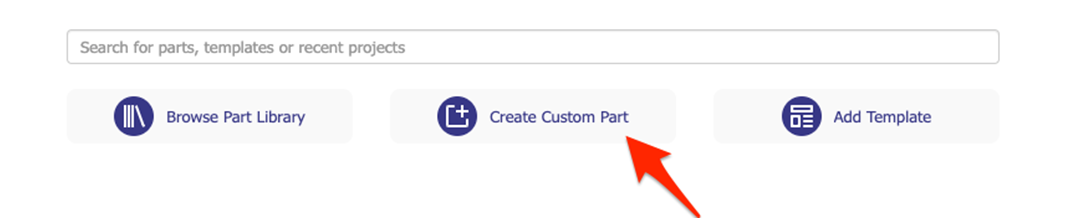
- Click "Create Custom Part".
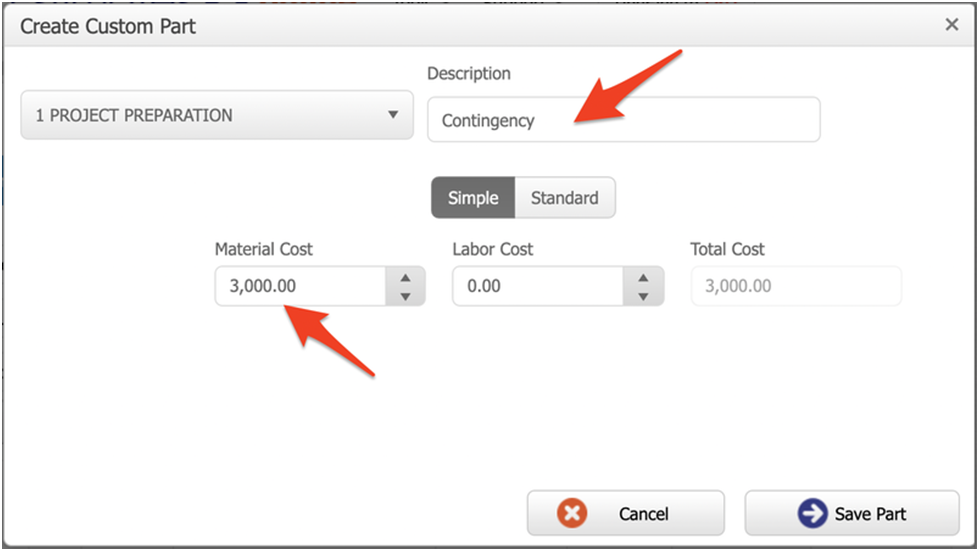
- Type your description and dollar amount.
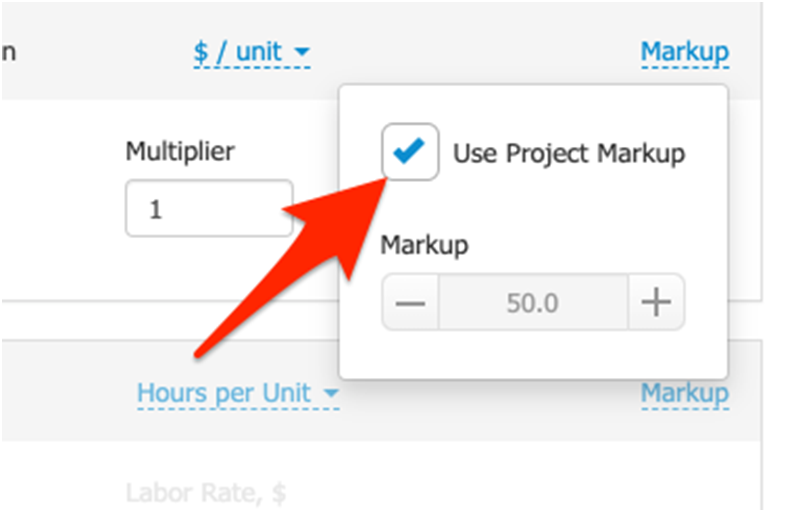
- Change markup to "0".
- Add any needed contract language explaining the contingency.
Overview
Regardless of your project size, you always need to be prepared for the unexpected. You can spend hours detailing every aspect of the job for your client - but there can always be those "unknown unknowns", the unforeseen changes that can cost you after your project is underway.
Setting aside a budget to account for the unexpected can save you a lot of hassle down the road, and keeps both you and your client prepared for any changes or pitfalls you may encounter.
Once you've decided on a contingency fund, you'll want to include this in your bid. Similar to creating an allowance or budget, Clear Estimates makes it easy to add a contingency to your estimate - you can do this in just a few simple steps!
How To:
First, click "Create Custom Part" at the top of your Projects page:
Next, select a category. Enter a description, and type in a dollar amount:
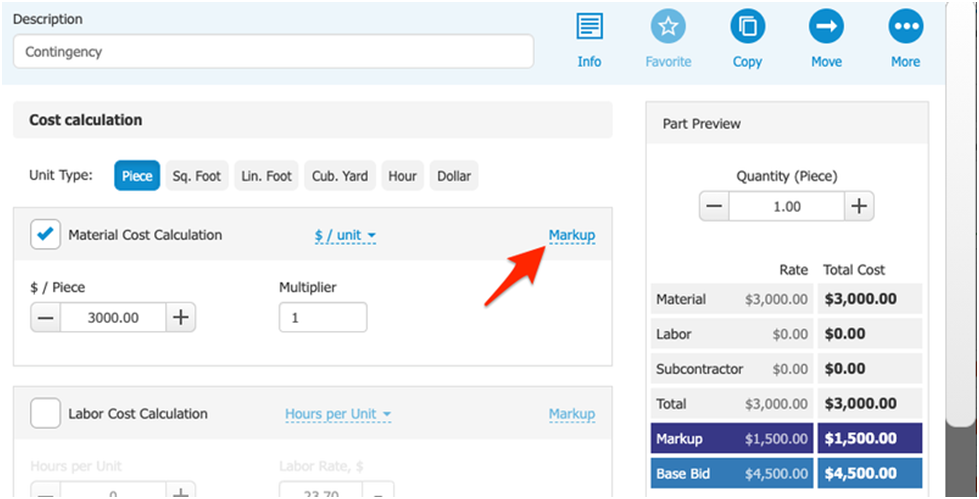
Next, we'll want to remove the markup from this item. Open the part up using the "edit" button:

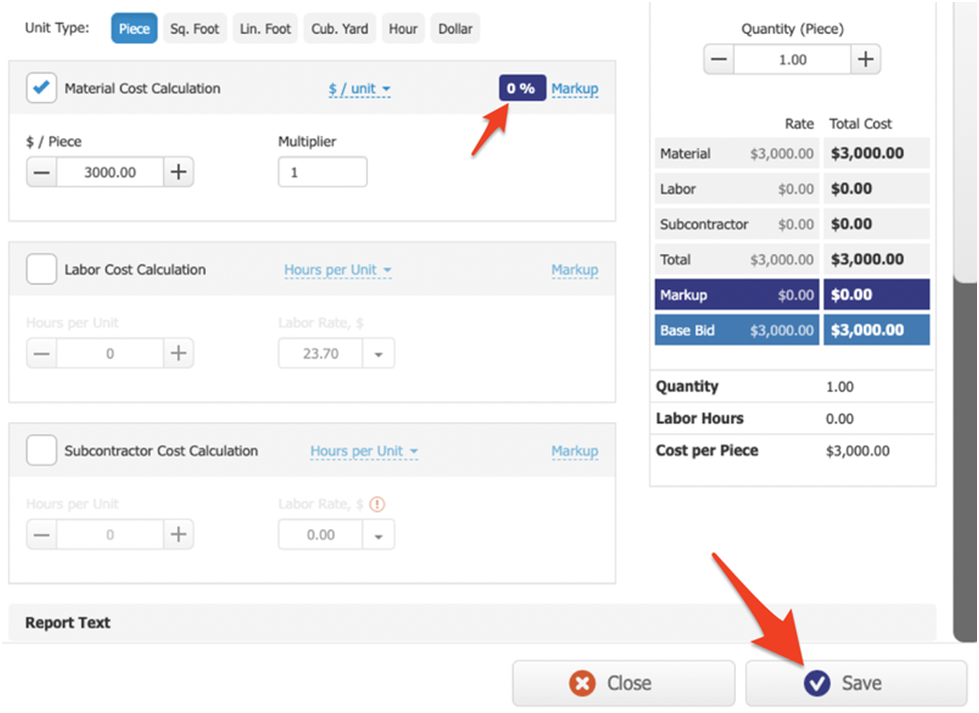
Click the "Markup" toggle on the top right of the cost Bucket:
Now, uncheck "Use Project Markup", and change the markup amount to "0":
Now your contingency item won't be marked up on your estimate. Lastly, click "Save":
Lastly, you can add any contract verbiage necessary to communicate the contingency to your client. You can do this from Reports > Boilerplate, and this guide will show you the steps!
That's it! Hope this helps!