
Overview
This article will walk you through setting up a new account - step by step!
Signing Up
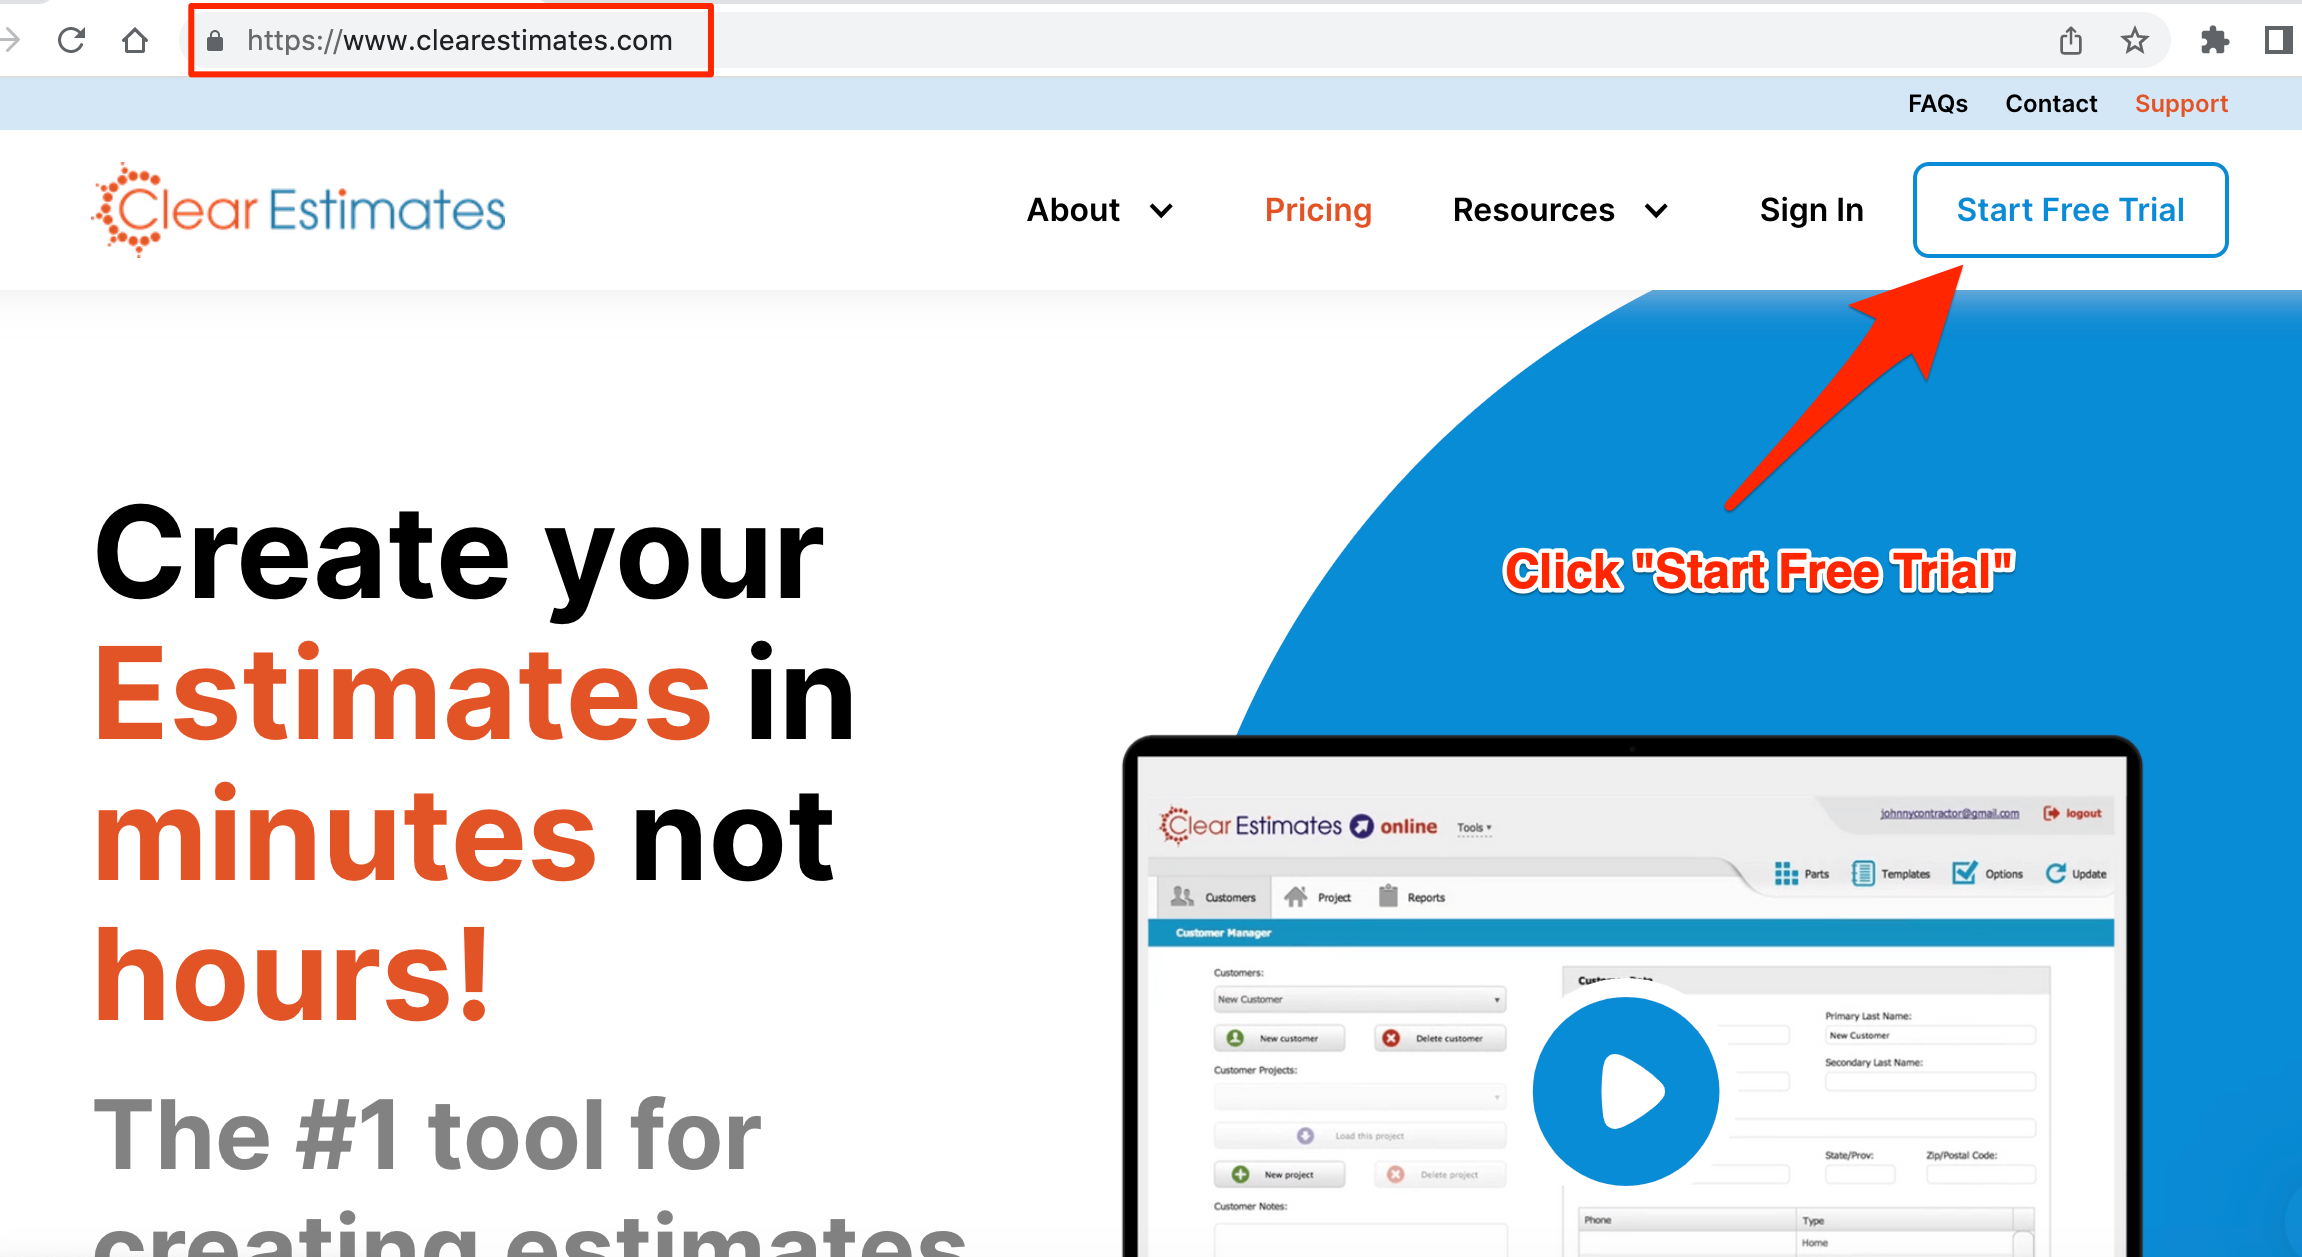
Step one is to head to clearestimates.com.
Either click the link included above, or type “clearestimates.com” into your URL bar. Then, click Start Free Trial:
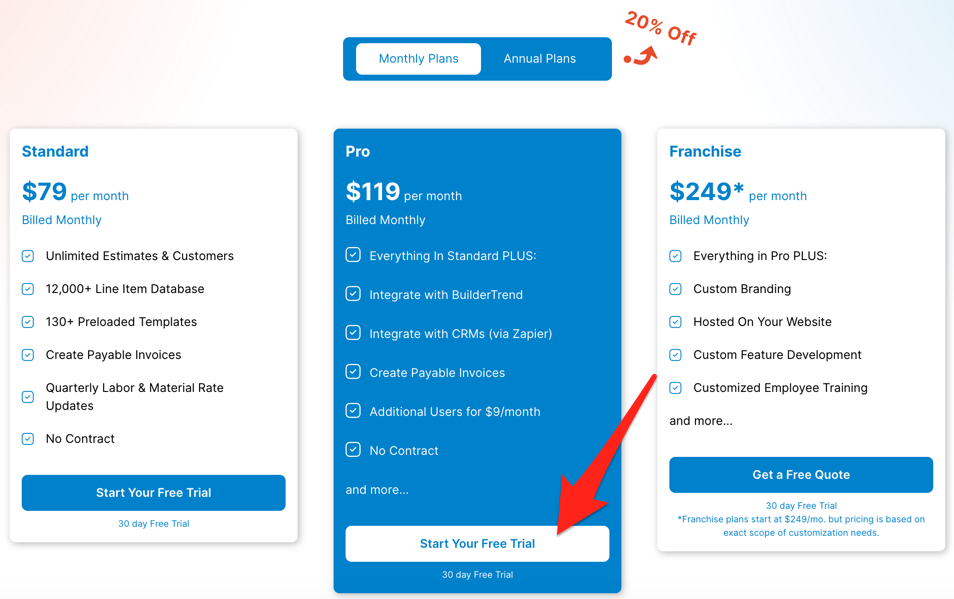
Next, choose the plan option you'd like to start with. (Note - Annual plans are available at a 20% discount)!
Then, click Start Your Free Trial:
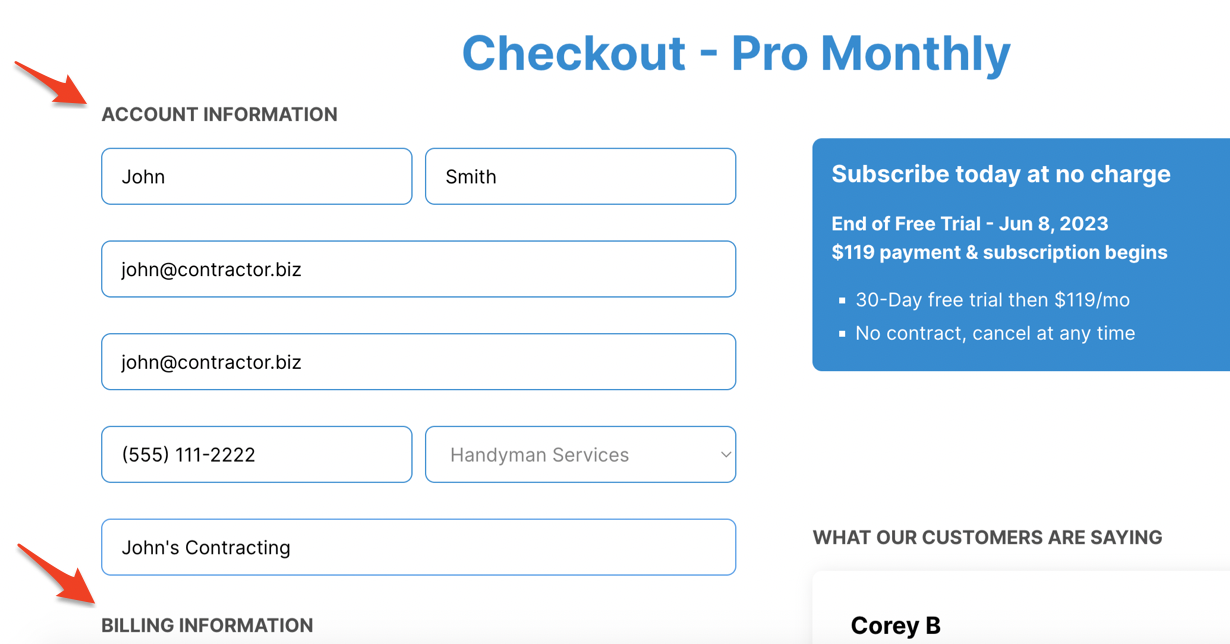
Next, fill out the information about your subscription. This will include account information, billing information and payment method. (Don't worry, you can cancel anytime during your trial without billing).
Note: Your user name will be your email address, and your estimates will be sent to clients from the email you enter on this page:
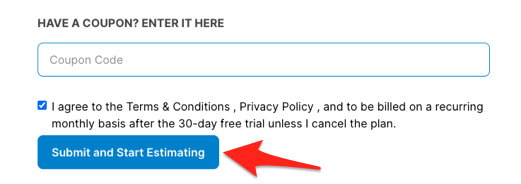
At the bottom of the checkout page, click Submit and Start Estimating:
Next, you'll be taken to a password setup page. From here, click Create Password and Start Estimating:

(Note: If you don't set your password, or if you close the page by mistake, you'll also receive a password setup email titled Open to Get Started! which you can use to create your password).
Setting Up Your Account
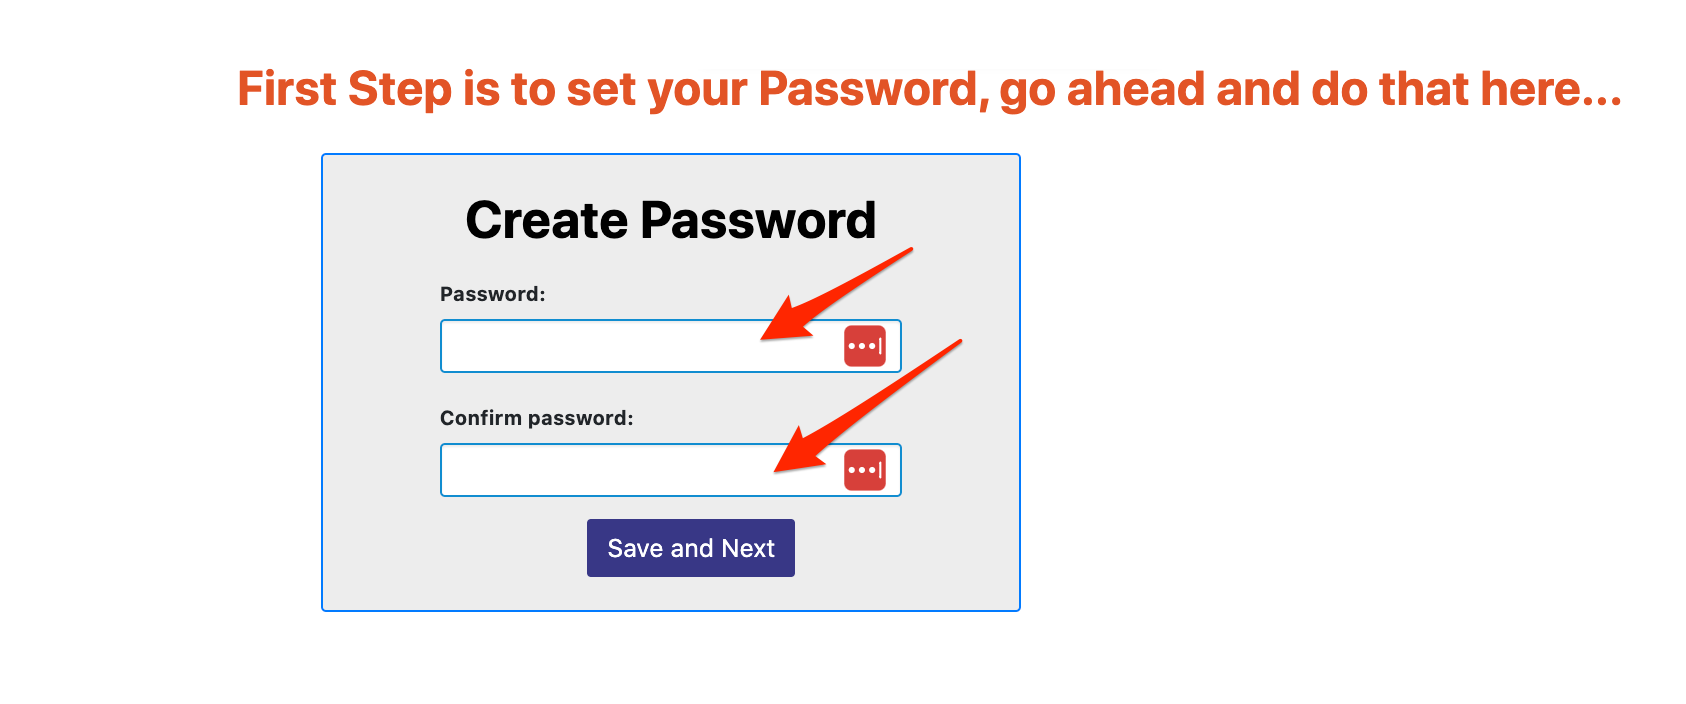
Now you'll be taken to a new page where you can set your login password.
You'll want to enter your password twice: Once where it says Password, and again where it says Confirm Password. Be sure to type it in both places, the exact same way.
Then, click Save and Next:
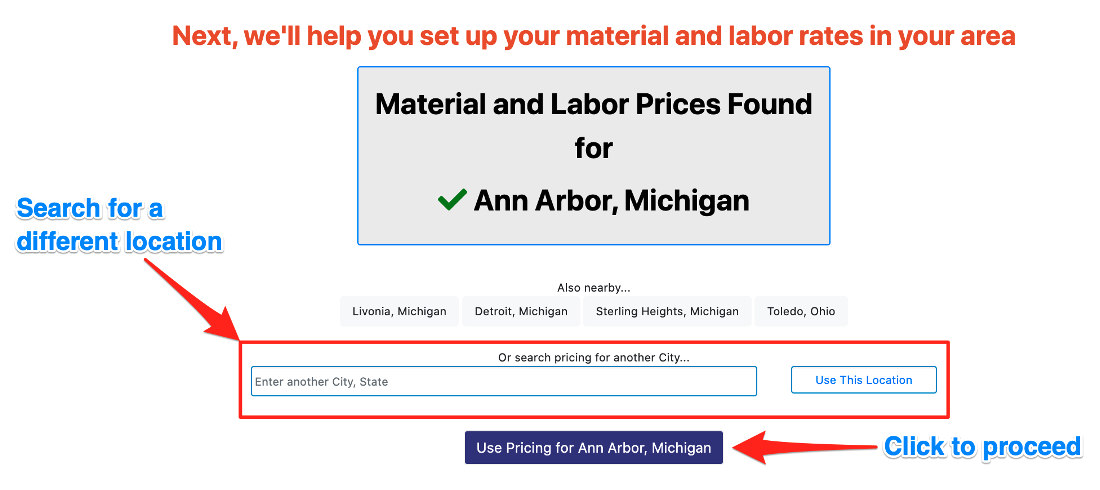
Next, you'll be asked to choose a location for your material pricing. That's right! You'll have a huge library of remodeling costs, right at your fingertips - sourced directly from your area!
Clear Estimates will usually suggest a location, but you can also search for a different location.
Once the location you want is selected, click the blue button at the bottom to continue:
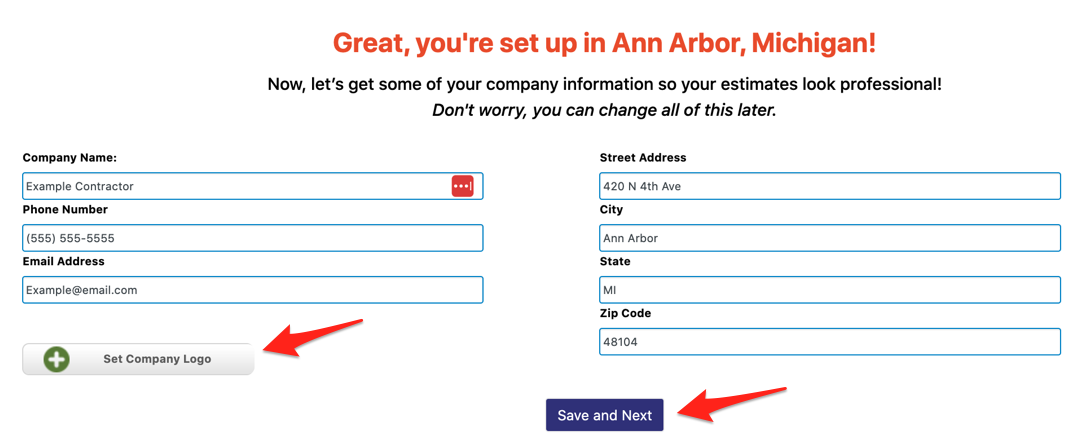
Now it's time to check your company information.
Double check your company name, phone, email, and address. This information will display on your proposals later, so be sure it is set up the way you like.
Below that, you'll also see an option to Set Company Logo. This allows you to use your own logo on your Clear Estimates documents! Don't worry - you can always add that later, if needed.
Once everything looks good, click Save and Next:
Next, you'll be asked if you want to be contacted by Clearent by Xplor to set up payable invoicing.
Through Clearent by Xplor, you're able to send payable invoices directly to your clients - and your clients can pay you directly via credit card or ACH check.
If you're interested in setting up a call with Clearent by Xplor, just click the checkbox (you'll automatically get $10 off your first Clear Estimates billing!): 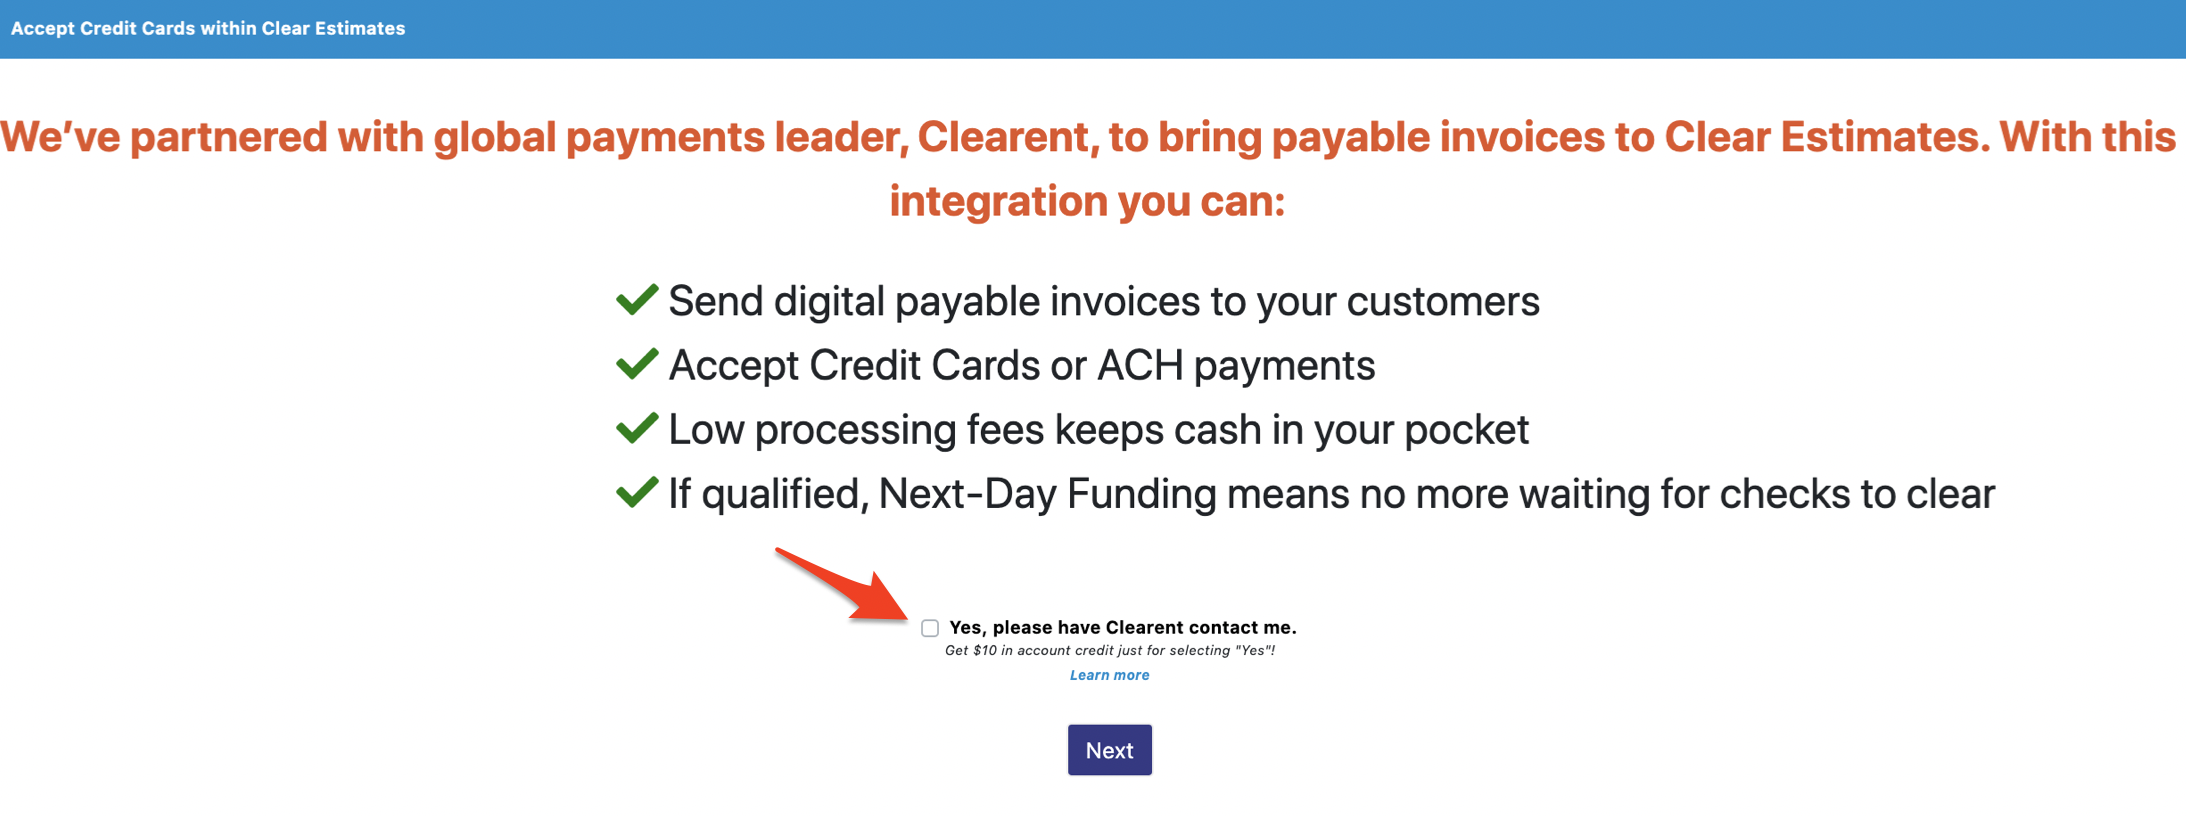
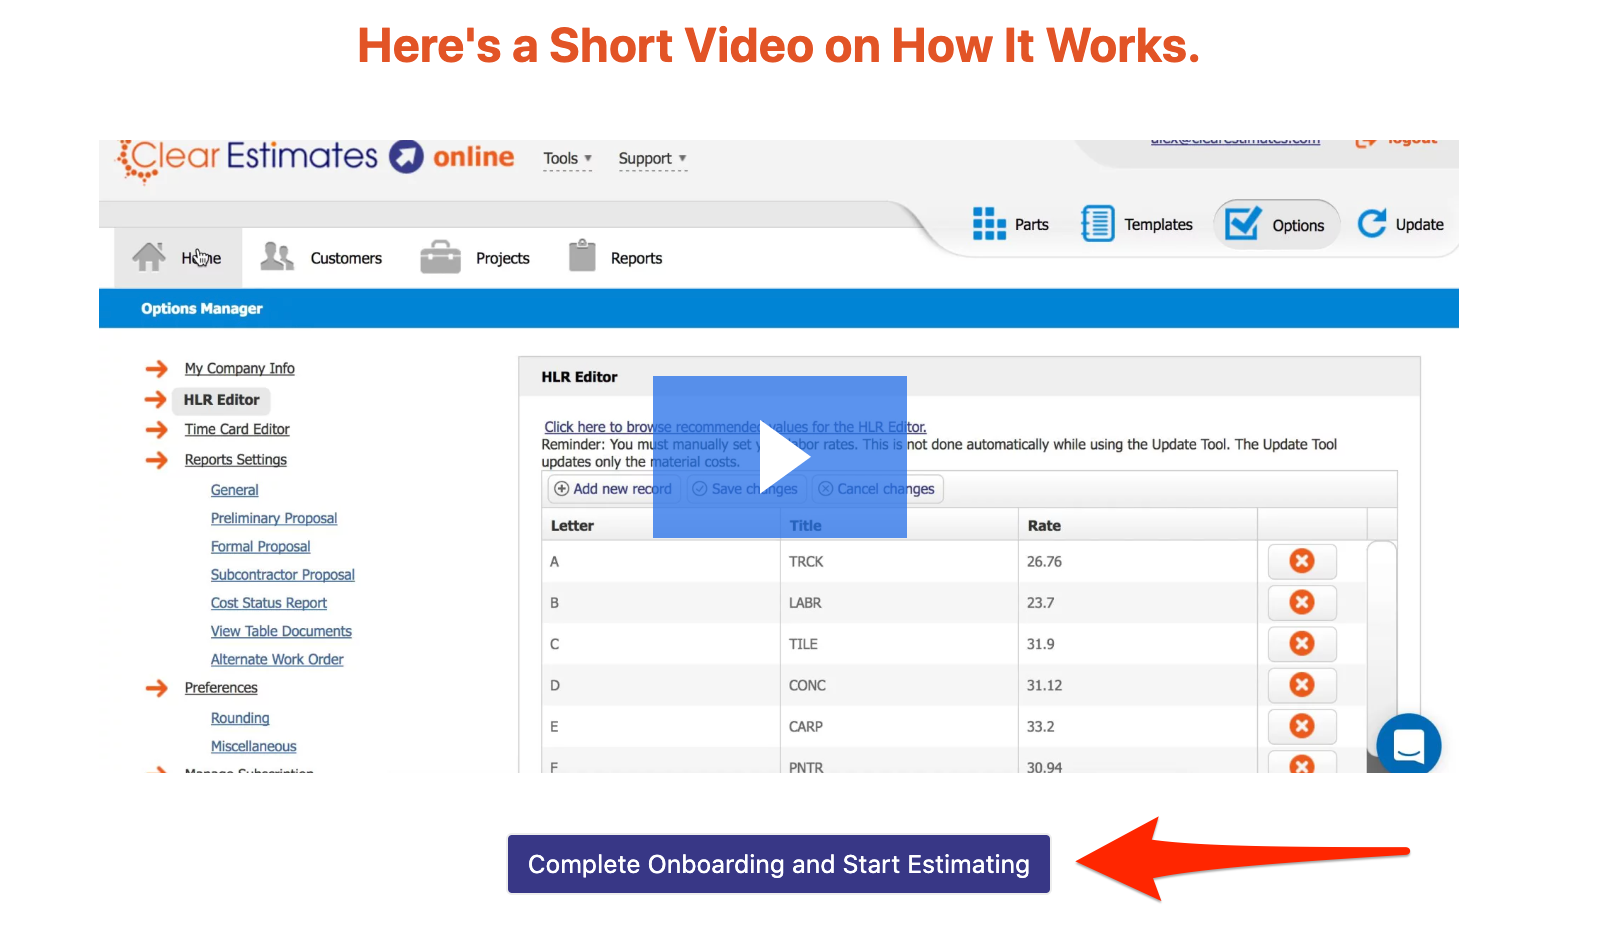
The last thing now is to watch a quick video on how Clear Estimates works.
This video is on our help center, so if you'd like to skip it, just click Complete Onboarding and Start Estimating (just below the video):
This will take you into the Clear Estimates software - and hooray! Its time to get started.
The next thing you should do is verify your email.
Verifying Your Email
If you want to continue your subscription, you'll need to verify your email address. You'll receive an email to verify your account email, titled Action Required: Confirm Your Email.
Click the link in this email to verify your account email:

This will keep your subscription active. If your email is not verified, it will be automatically cancelled after the trial.
If you don't see a verification email, click the link at the top of Clear Estimates to resend the email:

If you have trouble please contact support@clearestimates.com.