
With your Clear Estimates Pro account, you will be able to integrate with Zapier. This means you can send your customer information from Clear Estimates to your favorite CRM. It also means you can send customer information from Clear Estimates to any other application that also works with Zapier!
Want a video walkthrough? Click here!
Zapier is a way for non-developers to connect two services via API. Zapier sets up an automation, so when a new customer is added to Clear Estimates, that data can be sent to Zapier and be added to your CRM. Enough with the technical talk, let’s get your account setup!
First, you’ll need to head to Zapier.com and set up an account. Don’t worry, it’s free. Be sure to use your company information when you sign up, so you can keep it professional!

Once your account is created, head back to Clear Estimates and log into your account. Head up to Tools > Options > Integrations.

Then, click Click Here to Use Clear Estimates on Zapier:

A new tab will open in your browser, taking you to your Zapier account. It’s going to ask you to create your first Zap. Click Create this Zap.

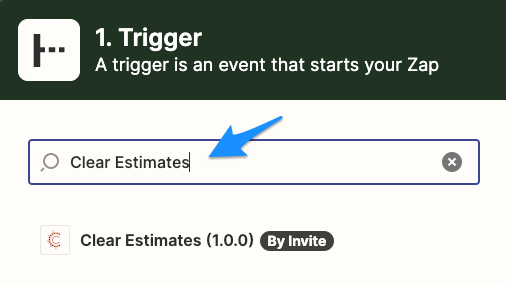
The first thing for us to do is choose the information that we’re going to grab from our Clear Estimates account. In Zapier, this is called a Trigger. This step should already be done for you, so go ahead and click Save + Continue.

Now, we need to link our Clear Estimates account to Zapier. To do this, click Connect an Account.

A new window will pop up and you will see the screen below. It’s asking you for an API key – this is basically your secure code to link your Clear Estimates account.

Head back into your Clear Estimates account. Then go back to Tools > Options > Integrations.
Copy the API key from the Zapier section:

Paste the API key into Zapier, and click Yes, Continue.

Now, head back to Zapier - you will see that your Clear Estimates account has been connected. Click Save + Continue.

Now, we need to make sure that our Clear Estimates account has been connected. To do this, we are going to run a test. Click Fetch & Continue.

Below, you’ll see that our test has been successful. Click Continue. WAIT: This step is very important. Below, you’ll see “View your Customer”. Click this and make sure you have as many values for the customer filled in as possible. If you do not, head back to Clear Estimates and fill in more information about this customer. This is our test, and in order for our test to be successful, we need to make sure the information (such as first / last name and email) are filled in.

Ok, now we are going to pull customer information from Clear Estimates. The next step is to decide where that information is going to go. In Zapier, that is called an Action. Click the button below to add an Action.

I am going to send our Clear Estimates information to a CRM. Randomly, I have chosen Agile CRM. Choose whatever app you want to send the information to.

Now that we have chosen which app we want to send our Clear Estimates information to, we need to decide what we are going to do with that information. In this case, I am going to tell Zapier to “Create Contact”. Scroll down and hit Save + Continue.

Now, since we are sending this data to a CRM, we need to have an account with that CRM. Since I am using Agile CRM, I need to connect my account. Click Connect an Account.

The screen below will show up. Fill out each field with information from the App you are going to connect. In this case, I can find all of this information in my Agile CRM account.

Now we have officially connected our CRM account to Zapier. See the confirmation below. Click Save + Continue.

Now it is going to ask us what kind of information we want to send to our CRM. In this case, we are going to send contact information (first name, last name, phone, email, address). Below, in the first field, Agile CRM is asking me what I would like to add to “First Name”. Click where the arrow is pointing below to choose what information we are going to place in the First Name field.

Select the option below, First Name of a Customer.

Below, you can see that every time I send information from Clear Estimates to Agile CRM, it will know to take the first name of a customer and place it as a first name in Agile CRM.

Do this for the rest of the information you want to send from Clear Estimates to your CRM.

Now, scroll to the bottom and click Continue.
We are now going to test our import to Agile CRM. The screen below is an example of what we will be sending from Clear Estimates to Agile CRM. Scroll down and click Create & Continue.

Awesome, it looks like our test was successful and we are done! Click Finish.

Turn on your Zap!

Congratulations, you created your first Zap! Here it is in your dashboard. Now, let’s test it out!

Head back to your Clear Estimates Pro account. Click the Customers page, and open up a customer to send to our CRM. Scroll down to the bottom of the page, and click Send to Zapier.

You’ll get confirmation that the customer was sent to Zapier.

Now, let’s head over to Agile CRM and see what sent!

Just like that, with a click of a button, you sent your new Clear Estimates customer to your CRM. This is extremely useful for gaining leads and keeping a relationship with your customers. CRMs are powerful, and you should take full advantage of them!
Feel free to use Zapier to send information from Clear Estimates to any other App you may find useful. All you need to do is find that App in Zapier, and then link to it!
Hope this helps!