
Table of Contents
Overview1) Part Description and Actions2) Part Cost Calculation3) Report Text4) MiscellaneousOverview
This is the popup window you'll see when you want to edit a part. You'll see this tool both in an individual estimate you're working on, or in your Part Library - when permanently adjusting the items in your account. Here, you can customize part information - such as the description, material costs, labor costs, the report text, internal notes, or a part image. Let's take a look in closer detail!
Here are the four main sections of the Adjust Part Window:
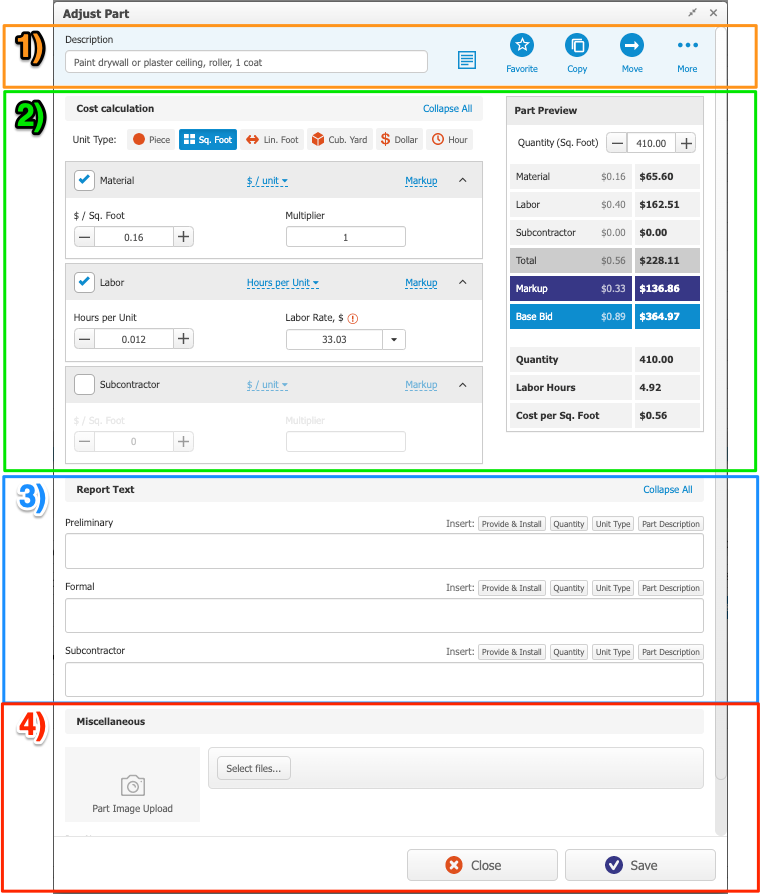
1) Part Description and Actions
Right at the top, you'll see a place where you can edit the description of your part (as well as a few actions related to the part).
The "Description" is your internal text for the part - and you can easily adjust the description here!
You can even click over the document icon to the right of the description - to see where in the Part Library this part is saved (the Category, Sub-Category, and Part Group):

You can also Favorite an item in your Part Library - or Move, Copy, or Delete a part from your project:
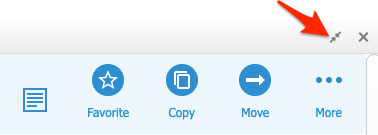
At the very top of the adjust part tool (above your part actions), you'll see an option for a "collapse view" of the entire Adjust Part tool - making it easy to see all of your part costs, and report text:
2) Part Cost Calculation
Here you can set up, customize, and preview how your part cost is calculated! You can easily include any combination of material, labor, and subcontractor costs. You can even customize how each cost is calculated!
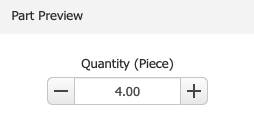
Make sure you're entering the quantity for the part on the right side, under "Quantity":
Learn more here:
Edit Material Cost of a Part
Edit Labor Cost of a Part
Add Subcontractor Cost to a Part
Each cost bucket is also collapsable, to avoid scrolling through the tool. At the very top, you'll see an option to "Collapse All", or "Expand All":

You can also collapse (or expand) cost buckets individually: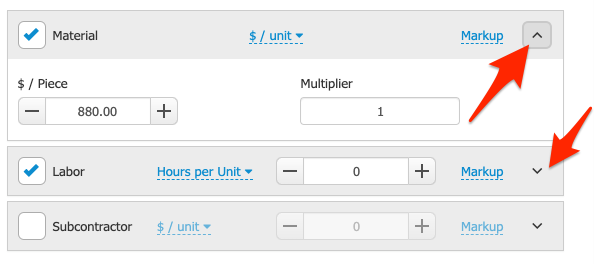
This allows you to see your entire part at once, and open up individual cost buckets as needed.
The preview on the right side gives you an overview of how the part is being calculated. In the "rate" column (on the left side of the preview), you can see the per-unit total for your material, labor, and subcontractor costs. This is great when you're thinking about your part on a per-unit basis. On the right, you can see the "Total Cost" of this part (the total after the per-unit cost is multiplied by your quantity):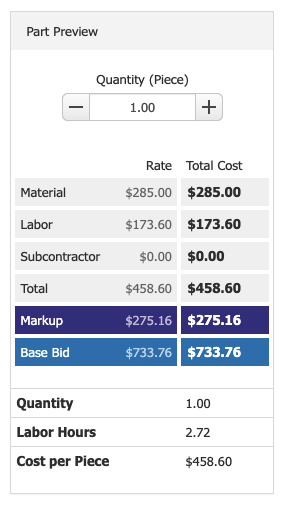
3) Report Text
This is where you can edit how your part will appear on the proposal itself. When you export your formal proposal, for example, you'll see the text from the "Formal" box for that item on your estimate. So, if you need to change the text for a part on your estimate, you've come to the right place!
Customize Report Text for a Part
4) Miscellaneous
Here you'll find extra customization options for your part. You can easily upload an image here, and it will automatically be included in the "Image Gallery" of your estimate.
You'll also see a "Part Notes" option, where you can add internal notes about the item. This is great for things like part numbers, or even a link to your supplier! Your customer won't see these notes, only you!